
 Deutsch
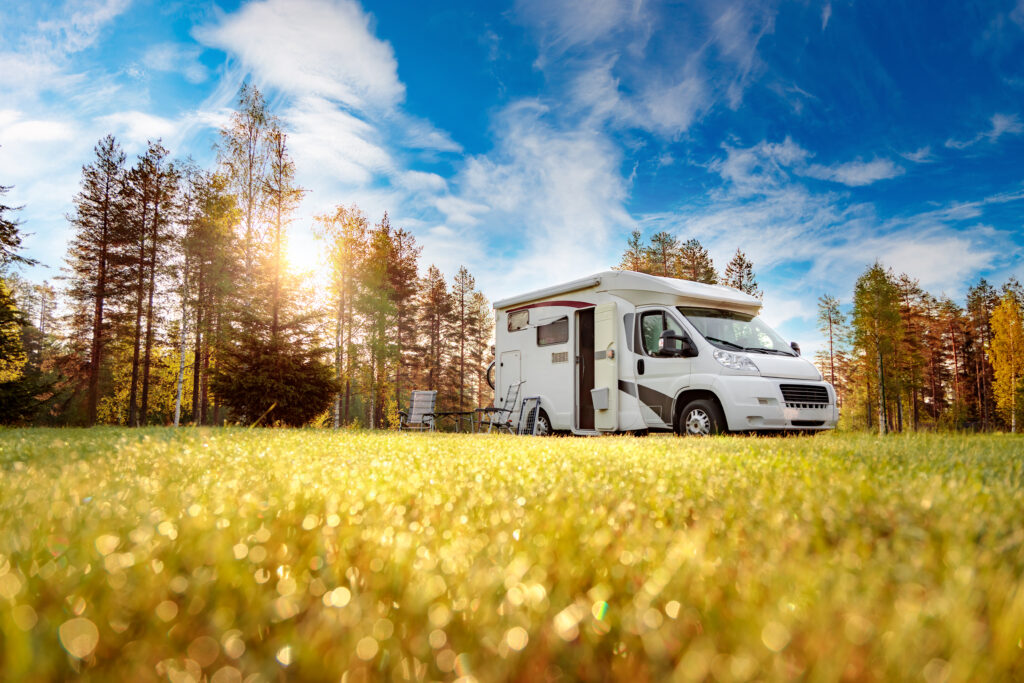
For many, building out a camper is an exciting project that promises independence, flexibility, and the ability to customize a vehicle to personal tastes and needs. This comprehensive guide offers valuable tips and instructions to help you successfully build your first camper.
1. Planning and Preparation
1.1 Choosing the right vehicle
Selecting the right vehicle is the first and most crucial step. Here are some criteria to consider:
- Size and Layout: Think about how much space you need. A smaller van like a VW Transporter is easier to handle and more fuel-efficient, while a larger vehicle like a Mercedes Sprinter provides more living space.
- Condition and budget: Decide if you want to buy new or used. Used vans are often more affordable but may require repairs. Are you able to do a bit of maintenance yourself, or will you need to plan a visit to the mechanic for all repairs?
- Power and fuel consumption: Consider the fuel economy and reliability of the engine. Which types of roads will you be driving on? In the mountains, you’ll need more power than on flat terrain. Are you planning to drive long distances or mostly shorter trips? Fuel is expensive, and for the sake of the environment, it’s also better to choose a vehicle with lower fuel consumption.
1.2 Needs and floor plan
Make a list of your needs and wants:
- Sleeping spaces: How many people should the camper accommodate?
- Kitchen: Do you need a built-in kitchen, or will a portable stove suffice?
- Storage: How much space do you need for luggage, equipment, and food?
- Sanitation: Will you install a fixed toilet and shower, or would you prefer to use campsite facilities for showers and a portable toilet, such as a composting toilet, is enough for you?
Then, sketch out the desired layout to make the most of the available space and strategically place key elements.
2. Laying the foundation: insulation and flooring
2.1 Insulation
Good insulation is essential to make your camper usable year-round. It keeps the heat in during winter and the cool in during summer. Here are some materials you can use:
- Armaflex: A flexible and easy-to-process material that insulates both heat and sound. It is well-suited for use in damp or cold environments.
- Styrodur: A rigid foam material that is well-suited for insulating the floor of a camper. It’s easy to cut and resistant to moisture. However, it provides minimal sound insulation and, like Armaflex, is not easily biodegradable.
- Cork: A natural material that offers excellent thermal insulation and moisture-resistance. It’s relatively lightweight but more challenging to work with in tight corners, less effective in sound insulation and also somewhat more expensive. A major advantage is that cork can be easily recycled.
- Sheep wool: This natural material is especially effective in sound insulation and temperature regulation, and it stands out for its environmental friendliness. It is easy to handle and fully biodegradable. The higher price must be considered here as well.
Make sure to insulate all surfaces, including walls, ceiling, and floor.
2.2 Flooring
The floor should be sturdy and well-insulated. Follow these steps:
- Clean: Remove the old flooring and thoroughly clean the surface.
- Insulate: Place a layer of insulation material (like Styrodur) on the floor.
- Subfloor: Install a stable subfloor structure made of wood or metal.
- Floor covering: Lay a durable floor covering, such as vinyl, which is moisture resistant and easy to clean.
3. Electrical and water systems
3.1 Electrical system
Electrical setup is complex but essential for camper conversions. A poorly executed electrical installation can, in the worst case, lead to your camper catching fire. Please consider whether you want to have the installation done by a professional service or do it yourself. There are now also DIY workshops where experienced professionals can assist you.
Make sure to think about what devices you want to power and how much electricity you need.
- Batteries: Choose between AGM, gel, or lithium batteries. Lithium batteries are more expensive but have longer lifespans and are lighter.
- Ladegeräte: Installiere ein Ladegerät, das sowohl über die Lichtmaschine als auch über eine externe Stromquelle (z.B. Solar) geladen werden kann.
- Verkabelung: Plane die Verkabelung sorgfältig und benutze Sicherungen, um Deine Geräte zu schützen.
3.2 Solar power
Solar panels allow you to be independent of external power sources. Here are some tips:
- Solar panels: Choose the right size and number of panels based on your energy needs.
- Charge controller: Install an MPPT charge controller to maximize the efficiency of your solar panels.
- Installation: Securely mount the solar panels on the roof of your camper and connect them to the charge controller and batteries.
3.3 Water supply
For the water supply, you’ll need:
- Water tanks: Install one tank for fresh water and another one for grey water. Make sure they’re easily accessible for filling and emptying. Pro tip: Put a piece of black tape on the grey water tank handle – makes it way easier to keep it apart from the fresh water tank later!
- Water pump: An electric water pump provides a consistent water pressure.
- Pipes and fittings: Run water lines from the pump to the sink, and to the shower as well if you plan to install one. For short distances from the tank to the tap or from the sink to the grey water tank, a simple hose will do the job. As for the tap, you’ve got plenty of options: small or large, simple or fancy, foldable or fixed. Choose one that fits your needs!
4. Furniture and interior
4.1 Materials
Choose materials that are lightweight, durable, and easy to work with. Plywood is a good choice for furniture as it is both stable and light.
4.2 Bed
The bed is one of the most important parts of your camper. Here are some options:
- Fixed bed: A permanently installed bed is convenient and saves time on setup.
- Folding or pull-out bed: These two options saves space and can double as seating during the day.
- Hubbett: A drop-down bed can be raised to the ceiling during the day to create more living space.
4.3 Kitchen
A functional kitchen is essential for camper living. Decide what appliances and features you need.
- Stove: A full gas stove runs on a gas bottle, which in Germany requires a gas safety inspection. If you’d like to cook outside sometimes, a gas cartridge stove might be a better choice – no gas inspection needed! Electric cooktops are usually less practical since they keep you dependent on a power source. Another option is a gas stove that uses alcohol fuel or fuel paste.
- Sink: A small sink with running water is useful.
- Storage: Plan plenty of storage space for food, cookware, and dishes.
4.4 Storage and Cabinets
Good storage solutions are essential for keeping the camper organized. Here are some tips:
- Overhead cabinets: Use the space above seating and sleeping areas for cabinets.
- Drawers and shelves: Install drawers and shelves to make the most of the space.
- Foldable storage boxes: Use collapsible storage boxes that take up less space when not in use.
5. Design and Comfort
5.1 Color Scheme
The colors in your camper affect its atmosphere. Light colors make the space feel larger, while darker colors create a cozy feel.
5.2 Lighting
Good lighting is important for comfort and safety. You get to choose between warm white and cool white lighting:
- LED Lights: Energy-efficient LED lights are ideal for campers.
- Ambient Lighting: Install additional light sources for a cozy atmosphere.
5.3 Heating and Ventilation
A comfortable interior climate is essential:
- Heater: A stationary heater provides warmth even in cold weather.
- Ventilation: Roof vents and windows ensure fresh air and prevent condensation.
6. Safety
6.1 Gas System
If you install gas, prioritize safety:
- Gas Inspection: Have the system inspected regularly.
- Gas Detector: Install a gas detector to catch leaks early.
6.2 Smoke Alarm and Fire Extinguisher
Install smoke alarms and keep a fire extinguisher on hand to respond quickly in case of an emergency.
7. Registration and Insurance
7.1 Vehicle Inspection and Registration
Before your first trip, your camper must pass inspection and be registered. Research the requirements and necessary documents.
7.2 Insurance
Get appropriate insurance for your camper, making sure it covers the DIY conversion.
8. Tips and Tricks from Experience
8.1 Learn from Others
Read about others’ experiences and connect with other camper builders to get valuable tips and avoid common mistakes.
8.2 Test Drives
Take a few test drives before any big trips to ensure everything works and you’re comfortable in your camper.
8.3 Be Flexible
Be prepared to make adjustments. Not everything will be perfect right away, and changes may be necessary.
Conclusion
Building your first camper is an exciting and rewarding project. With careful planning, the right materials, and some hands-on work, you can make your dream of owning a custom camper come true. Enjoy the freedom and independence of your self-built camper and create unforgettable memories on your travels. Safe travels and happy camping!
I hope this detailed guide helps you with your camper build! Be sure to check out our Camp’n’Connect blog regularly for more tips, tricks, and inspiration on all things camping and outdoor adventures!